Saturday, March 15, 2014

Stop Crying Over Onions

I use onions in almost every dish I make, and I even make onion-centric dishes like French Onion Soup, or caramelized onions for pizzas.  I love onions but sometimes they are so strong I can hardly stand it!

I have tried out many suggestions for avoiding the tears:

Put a toothpick in your mouth while you cut up onions.

Use onion goggles.

Cut your onions under running water.  Wait, what?


I can't explain why some onions seem to be okay--hardly produce a tear--while others seem to be tear producers the minute the knife touches them.


Finely chopped onions don't always make me cry.

I picked up a big bag of onions, and discovered once i started cutting that these were the most tearful onions I had encountered in a long while.  So now what?


Innocent looking onions.

I had a LOT of onions, not just one or two to get through, and I didn't want to spend all that extra time wiping my eyes, blowing my nose and washing my hands, only to repeat it many, many times!


The hero of the day!

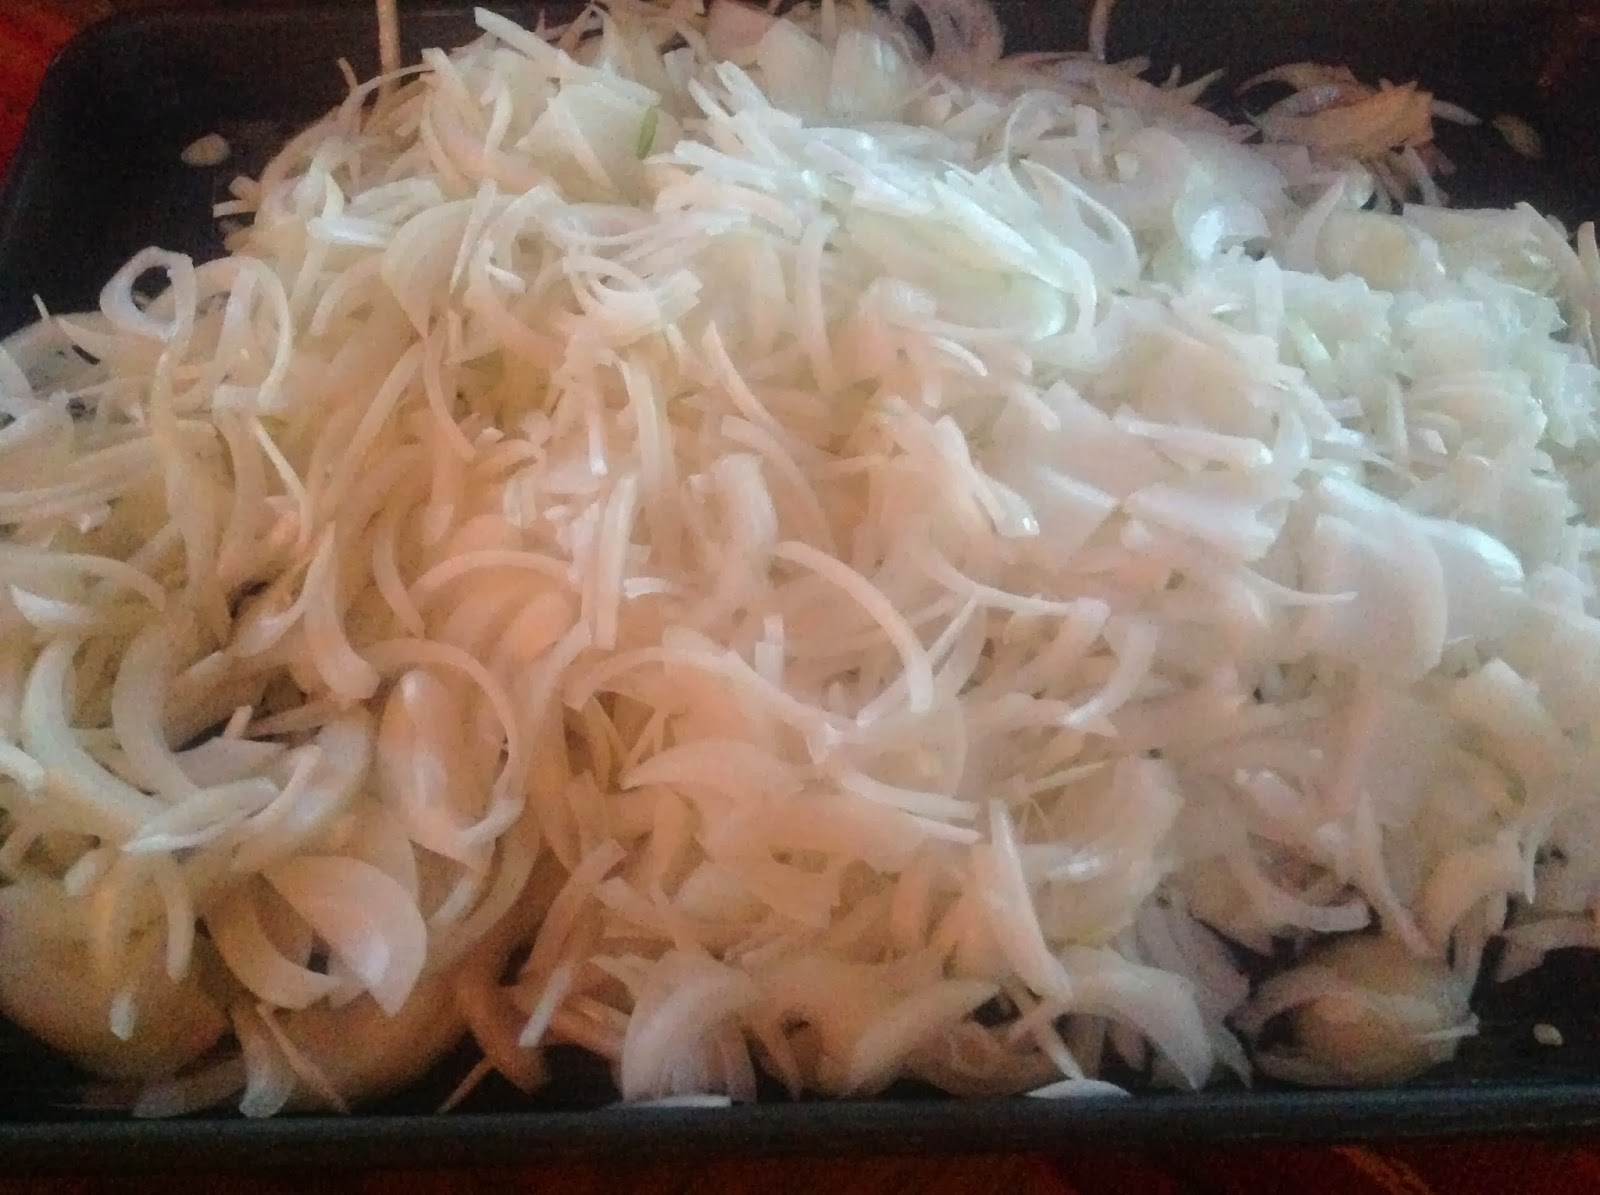
And then I remembered the food processor.  I still had to cut the onions in half because my food processor feed is small, but I could slice up the whole bag of onions in minutes!  Although I wasn't tear free, I did manage to limit the exposure.


I thought that I might as well cut up every onion in the house as long as I was at it!

I would be prepared to cook onions without dealing with tears!


I put onions into freezer containers, labeled them and got them out of the kitchen!  May they be comfortable in the freezer and ready when I need them.


Yes, I am ready for anything with onions!


Now I just pull them out of the freezer and add them directly to the pan:

Put frozen onions right into the pan.

Look Ma, no tears!  And I have enough onions for at least a week! hehe.

Wednesday, March 12, 2014

Spicy Pork in the Pressure Cooker

Last week I showed you how to make a fabulous rub for meat by roasting spices.  This week, make a meal that will rock your world!


You will need a pressure cooker:


Some cubes of fresh pork:


And a spice blend:


Pour the spice blend on the pork, and mix well so that all of the cubes are coated with the delicious spices.


Pour spice blend over pork cubes.

Mix well.

Make sure the meat is well coated.


Let this mixture rest for at least one hour.  I like to mix this up the day before I use it and keep it in the refrigerator until at least a half hour before I am ready to cook.  It's best to cook meat that isn't too cold, so I pull it out and put it on the counter for awhile.

Next I brown up the meat in batches. 
Develop some browning on the meat for great flavor.


Don't crowd the pan when browning meat.  


I dump each batch of browned pork directly into the pressure cooker.  I do not like to brown in the pressure cooker, so I pull out pans and go to the stovetop.  It's much faster.


 In the same pan, add some sliced onions and salt, and brown the onions. 


I like to develop a lot of flavor by giving the onions time to caramilize a bit.
 Add the onions to the pressure cooker and throw some cut up carrots into the same pan for additional flavor development.


Add some water, wine or broth to de-glaze the pan.


Once you have everything in your pressure cooker, add a cup of water, close and lock the lid in place.  Bring it up to high pressure; maintain the pressure for 10 minutes.  Yup, 10 minutes!


Your cubed pork can be done in 10 minutes, and will be incredibly tender and delicious!


Served over creamy, rich polenta alongside vegetables.  The pork in in the center.

Saturday, March 8, 2014

Homemade Broth Using Food Scraps!

It's easy to get cans or boxes of broth at the supermarkets to use in recipes, but have you ever tried to make your own?  It is so delicious and really much easier to fit into your day than you might think.

You can start with a whole chicken:
Roast a whole chicken in the oven for one hour. 

Roast or fry some cut up chicken from the supermarket.

Or pick up a rotisserie chicken.  I pull the meat off the bones, and we eat these parts as part of a balanced dinner.  hehe.

Rotisserie Chicken.

Any cooked chicken on the bone will make great tasting chicken broth.  You can eat the chicken and just use the bones and meat that gets left behind. 
Chicken carcass from a rotisserie chicken.

Remove the meat and save the carcass for your broth. Broth from bones that you would have thrown away!
Next you need some vegetables, like celery, carrots and onions.

Or you can use the scraps from these:


I save up my scraps in the freezer for broth.  Carrot peelings, onions skins, mushroom stems, parsley stems or parsley that's getting old, celery leaves and tops, etc.

Use your food scraps in homemade broth!  Onion skins add a lot of color to broth.


If you need to, quarter up an additional onion or two, chop a few carrots, or throw in a few stalks of celery.


Leave the roots and skins on your onions when making broth.


Throw it all together in a pot.  Add some bay leaves, salt and peppercorns, and cover with water.  Bring to a boil, and then lower to a simmer.  


Cover with water and bring to a boil. Ooops, there's the string from my rotisserie chicken.

Simmer your stock on the stove top over low heat for several hours.

Or put into the oven at 350 degrees for several hours.

Or put in your slow cooker for 8-10 hours.  You could even do this while you sleep.

Or put in a pressure cooker for 30 minutes at high pressure.  Find directions on this blog on January 8, 2014. 

Pour into a colander placed over a container that will catch the broth.

I like to put my broth into the refrigerator overnight.  In the morning, the fat has solidified and is easily removed.


Sometimes it can be removed in sheets, but other times it breaks up and has to be skimmed off.  It is still easier to remove in this state.


Put into containers and store in your freezer until ready to use.  


3 quarts of broth from a carcass, food scraps and some seasoning. 

I prefer freezing it in pints or quarts because I will use it in those quantities.  

I always label with a date so I use the oldest first and type of broth.  When you make your own, even the chicken broth has color.

I hope you will try this.  It really is that easy!

Wednesday, March 5, 2014

Roasting Spices

Here are three spices, directly from the spice jars:  whole coriander seeds, fennel and whole cumin seeds.

A way to boost the flavor is by roasting.

Heat a pan (not a non-stick pan) over a medium-high flame until the pan is hot.


Add the spices and toss frequently to turn them over.  You do not need any oil--the spices will release their natural oils.


They are just starting to brown. 
See how brown they become?  And fragrant!
Pour them out of the pan when they are brown and let them cool.  (If you leave them in a hot pan, they will continue to cook and may even burn.)


Once cooled, you will need to grind them using either a mortar and pestle:


Or a spice grinder:


Run grinder for 30 seconds. 


Ground up spices from the spice grinder.
Here's how the mortar and pestle spices look when ground:


Side by side comparison:


Either way works just fine, but if you prefer your spices finely ground you will want to use an electric spice grinder.  If you like the looks of roughly ground spices, the mortar and pestle are perfectly good.

You can use this mixture as a rub on pork, chicken, lamb or beef.


I added some other seasonings and cooked up some pork cubes in my pressure cooker.


Fresh parsley, cayenne pepper and paprika.

Smashed garlic cloves.

My freshly roasted and mixed spice blend.
Next week:  Using this to make delicious spicy pork in the pressure cooker!